
Janesville Epoxy Flooring has spent more than 20 years grinding and finishing concrete, and polished concrete floors are one of the most durable results that work produces in Janesville, WI. We polish slabs for shops, warehouses, storefronts and homes, serving surrounding cities including Milton, Edgerton, Beloit, South Beloit and Evansville. Polishing turns the slab you already have into the finished floor, with nothing applied on top that can wear through or peel.
The process is grinding, densifying and polishing in measured stages, and every one of those stages has to be done in order to get a floor that holds its look. Skip a step and you get scratch patterns, a dull haze or a surface that dusts under traffic. We plan the number of passes, the aggregate exposure and the final sheen with you before the first diamond touches the floor.
Our proposals name the densifier and guard we will use, the level of exposure and the target sheen, so the finished floor can be checked against the quote. We also read the slab first, because cracks, patches and old adhesive change what polishing can achieve. If a floor will not polish well, we would rather tell you before the work than after.
Our Step-by-Step Polished Concrete Process
Step 1: Assessing and Repairing the Slab
We start by checking the slab for hardness, cracks, joints, patches and leftover coatings or adhesives. Soft concrete polishes differently from hard concrete, and old glue lines or mastic can ghost through the finish if they are not fully removed. Where the slab is uncertain, we grind a test area so you can see what the aggregate looks like.
Cracks and spalls are filled with a repair material that can be ground and polished with the rest of the floor. Joints can be filled with a semirigid filler in working spaces where carts and forklifts cross them, which protects the edges from chipping.
Step 2: Grinding in Stages
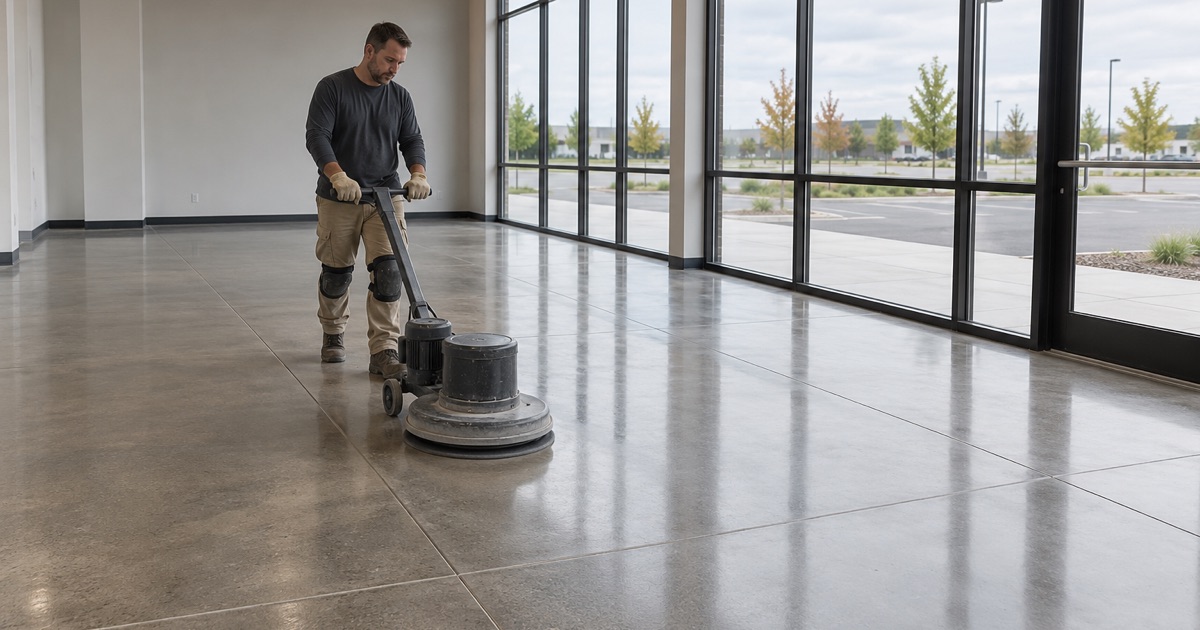
Grinding begins with coarse metal-bond diamonds that flatten the surface and cut to the depth you have chosen. Each pass after that uses a finer diamond to remove the scratches left by the one before. The passes are not interchangeable, and rushing between them leaves visible scratch patterns that only show once the floor is polished.
We run dust collection on every grinder, and wet slurry is collected on site rather than washed toward a floor drain, street drain or the Rock River. Keeping the work area clean also keeps grit from scratching the surface between passes.
Step 3: Hardening With a Lithium Silicate Densifier
Partway through the sequence, we apply a lithium silicate densifier. It soaks into the concrete and reacts with it to form a harder, denser surface that resists dusting and abrasion and takes a better polish. Lithium silicates penetrate well and leave little residue, which is why we favor them.
The densified surface is what gives a polished floor its long life under traffic. Without it, the top of the slab stays relatively soft, and it wears and dusts in the busiest lanes much sooner.
Step 4: Polishing and Guarding
The final passes use resin-bond diamonds that refine the surface to the sheen you selected, from a soft satin to a high reflective gloss. We then apply a penetrating guard that helps the floor resist staining from oils and spills and makes routine cleaning easier.
A final burnish brings the guard and the surface up together. We walk the finished floor with you, under the lighting the space will actually use, so any area that needs another pass is caught before we pack up.
Aggregate Exposure and Sheen
Cream Finish
A cream finish barely cuts into the slab, leaving the smooth top paste with little or no stone showing. It gives a clean, uniform look that suits modern interiors and storefronts. Because the cut is shallow, any trowel marks or blemishes in the original finish can remain visible.
Cream finishes take fewer grinding passes, but they depend heavily on how well the slab was finished when it was poured. We check that before recommending it, since a rough or patched surface may need a deeper cut to look even.
Salt-and-Pepper and Full Exposure
A slightly deeper cut reveals fine sand and small aggregate, the salt-and-pepper look that hides dust and wear well. Grinding deeper still exposes the larger stones for a terrazzo-like floor where the aggregate becomes the design. Each step down removes more concrete and adds grinding time.
Exposure is the decision to make first, because you cannot add depth back once it is cut. We show samples and grind a small area where needed, so the choice is made with real concrete in front of you.
Choosing a Sheen Level
Sheen is set by how far the polishing sequence goes. A satin finish hides scuffs and suits warehouses and shops, while a high gloss reflects light and brightens retail floors, lobbies and showrooms. A higher sheen shows smudges more clearly and may need more frequent burnishing to stay even.
We help you match the sheen to the traffic, lighting and cleaning routine of the space. A working shop and a front entrance rarely want the same finish, even inside the same building.
Commercial Polished Concrete Floors
Warehouses, Shops and Retail Floors
Polished concrete is a strong fit for warehouses, distribution floors, shops and big-box retail because there is no coating for forklifts and pallet jacks to wear through. The densified surface handles heavy rolling traffic, reflects light to brighten large spaces and cleans up with an auto-scrubber. Joints get a semirigid filler where wheels cross them.
We schedule polishing work in commercial buildings around operating hours, including overnight and weekend windows, and work in sections where the building has to stay open. Since there is no coating cure time, finished areas can usually go back into use quickly.
Keeping a Commercial Floor Polished
A polished floor needs regular dust mopping or auto-scrubbing with a neutral cleaner to keep grit from dulling it. Acidic spills, harsh degreasers and grit tracked in from outside are the main things that wear the shine down. Entry mats at the doors make a noticeable difference through a Wisconsin winter.
When high-traffic lanes eventually dull, the guard can be reapplied and the surface burnished back up without regrinding the floor. We explain the maintenance routine at handoff, so your staff knows what to use and what to avoid.
Residential Polished Concrete Floors
Basements and Lower Levels
In a basement, polished concrete has a real advantage: there is no film on top for moisture pressure to lift. That makes it a practical choice for lower levels where a coating might be at risk, as long as the slab is sound and the space itself stays dry. Polishing does nothing to stop water entering a basement, so we check moisture conditions first.
A polished basement floor pairs well with area rugs and is easy to keep clean. It suits finished lower levels, family rooms, workshops and home gyms where you want a durable surface with a finished look.
Main Floors, Garages and New Construction
Polished concrete also works for main-level floors in newer homes and additions, especially where the slab was poured with polishing in mind. Garages can be polished too, though a coated floor is often the better choice where road salt brine sits on the surface all winter. We will tell you which suits your space rather than pushing one.
For new construction, talking with us before the pour helps the finishers leave a slab that polishes evenly. A few decisions made early can save grinding passes later and give a more consistent final look.
- 20+ Years in Concrete Coatings
- Moisture Testing in Every Scope
- Free Written Estimates